Two Easy Ways to Plan a Route with Hiking Logger
Hiking Logger provides you with two main ways to plan a route. You can do so by specifying key waypoints or by using finger tracing – we recommend using waypoints as this method gives you more accuracy and control. You can also use the finger tracing method, where you can freely draw the track you want to follow and Hiking Logger will find the nearest navigable path for you to follow.
Track Making with Waypoints
1. Navigate to where you want to start the track and select the Waypoint Route Creation icon as shown below:
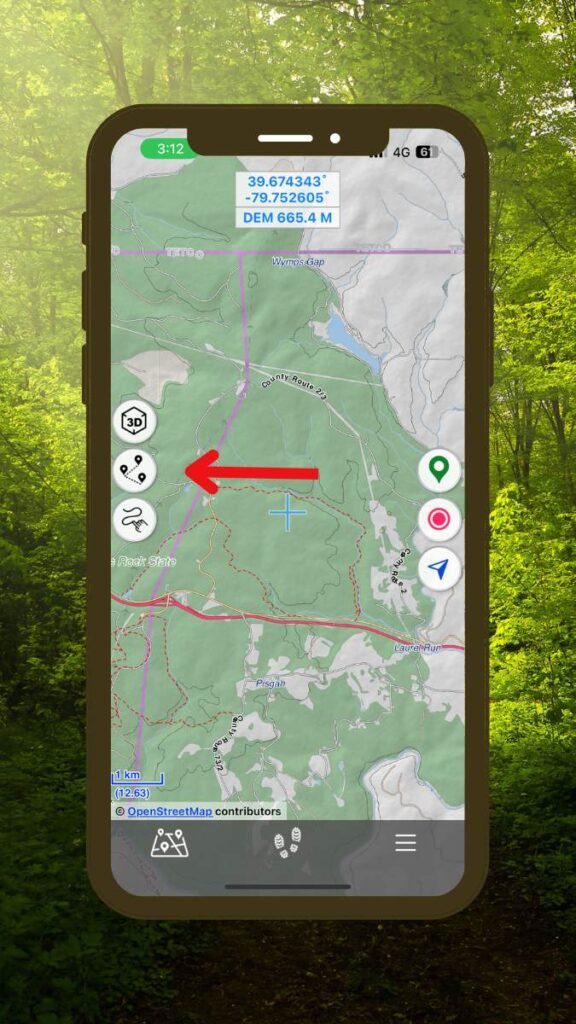
2. Place the cursor exactly where you want to start the track and press the Add Waypoint icon as shown below:
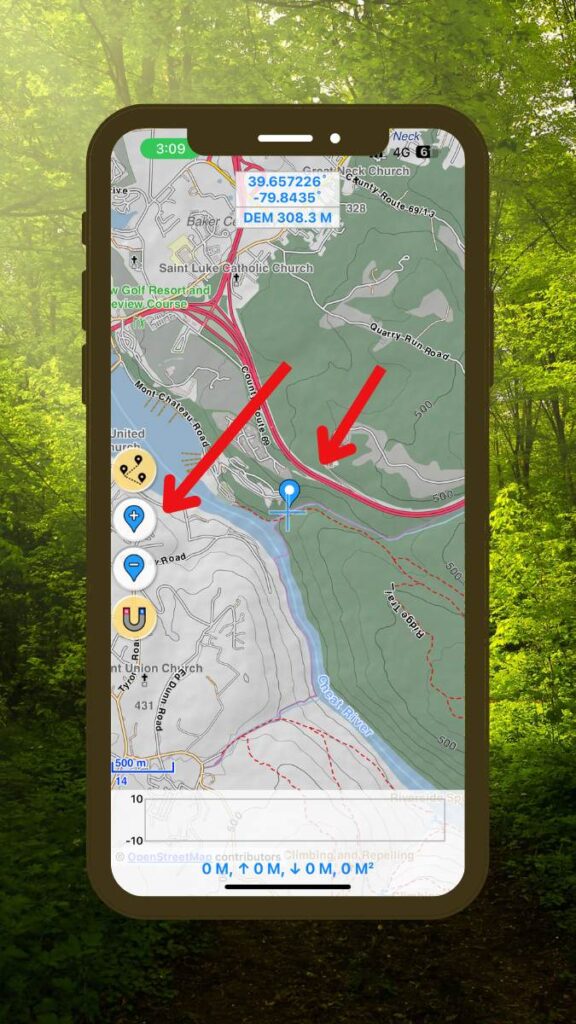
3. Continue to move the cursor and mark the path that you want to create.
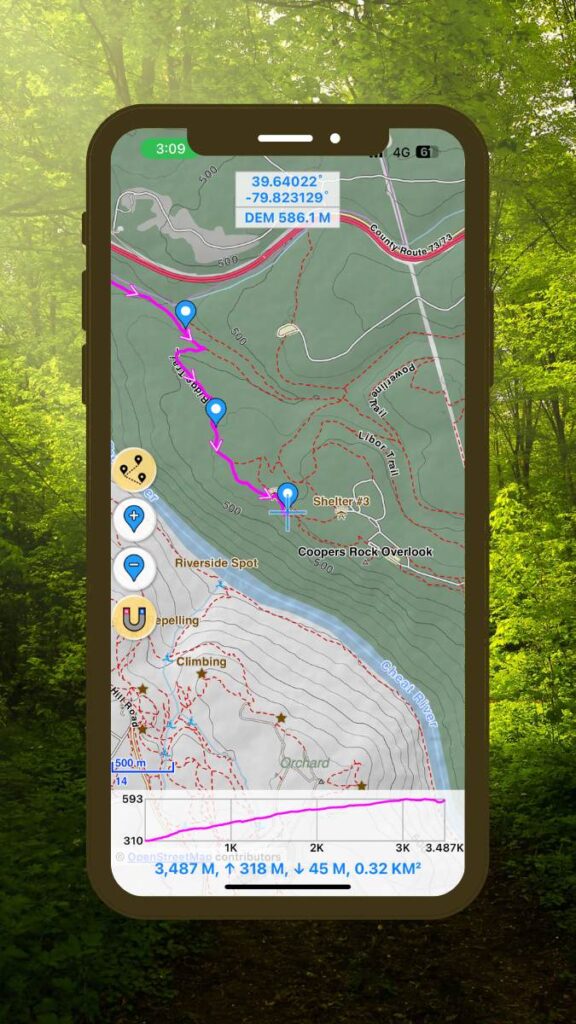
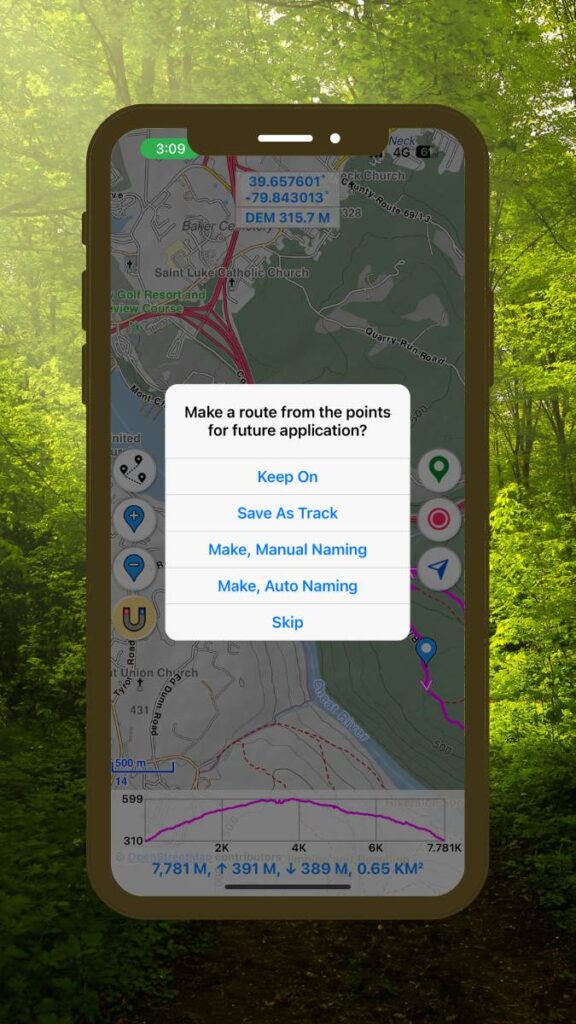
4. Press the Waypoint Route Creation icon when finished creating your path and follow the prompts to save your track for future use.
Track Making with Finger Trace Method
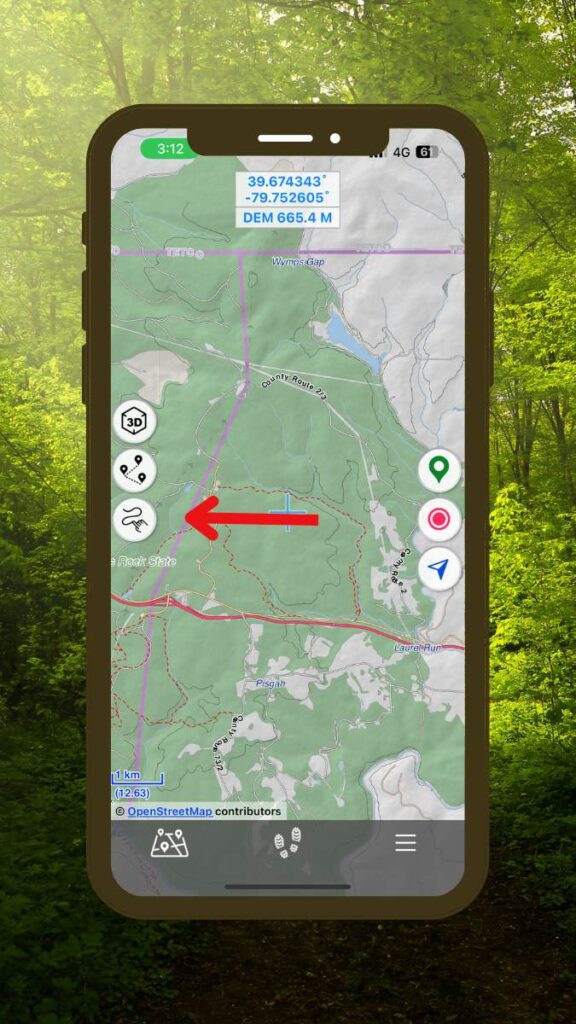
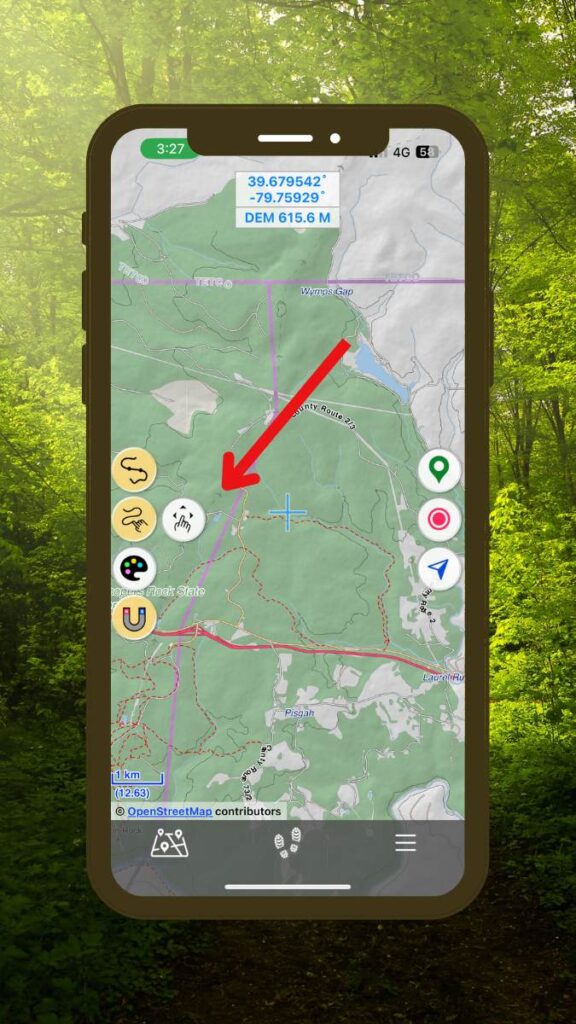
2. Trace your route and if you have the magnet icon selected then Hiking Logger will automatically adjust your trace to the nearest navigable path. Note that you can also just trace the key sections and if you have the Connector icon selected then it will automatically make a single track out of sections you trace.
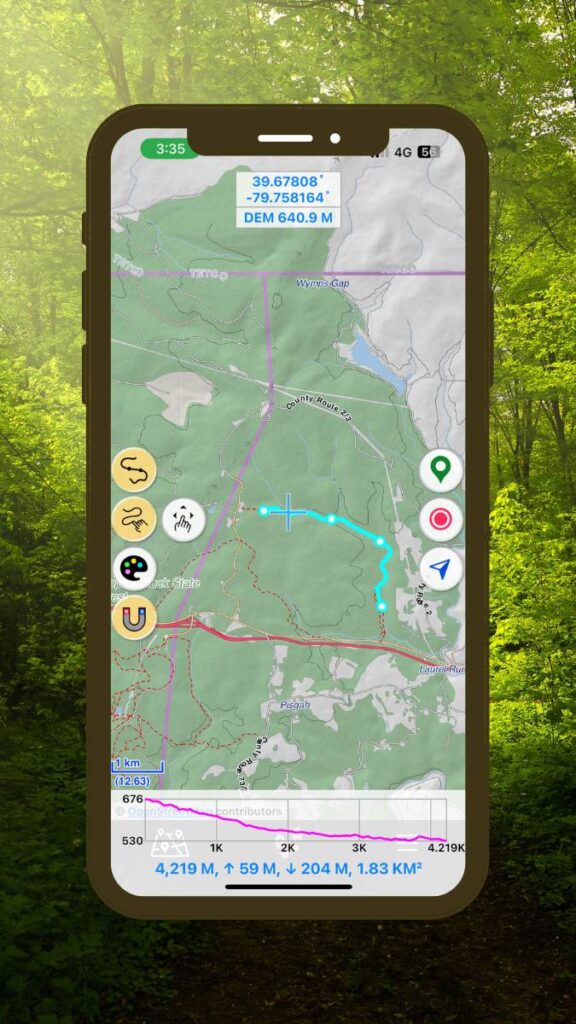
3. Press the Finger-Trace icon when you’re done and follow the prompts to save your track.
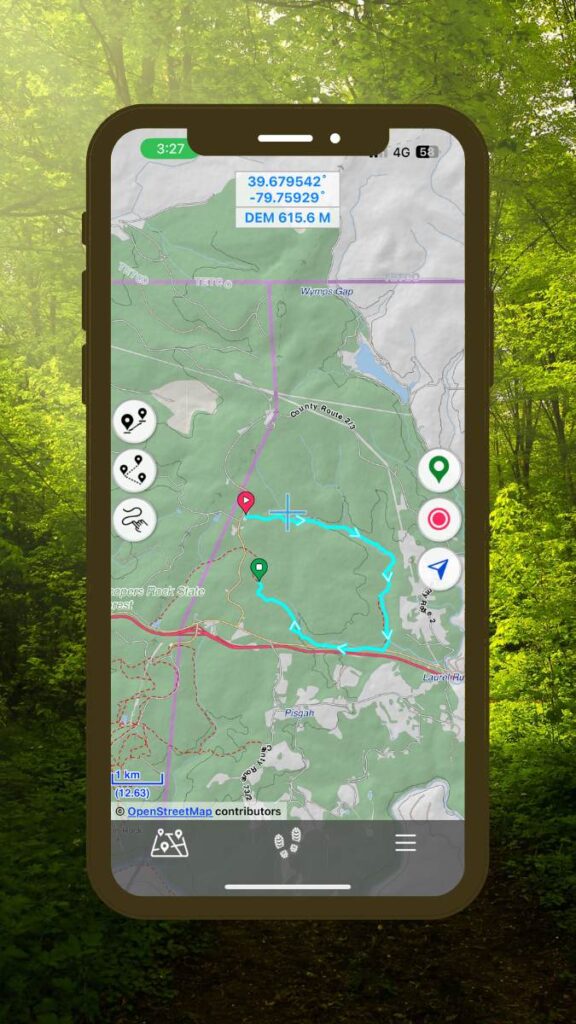
Viewing Your Saved Tracks
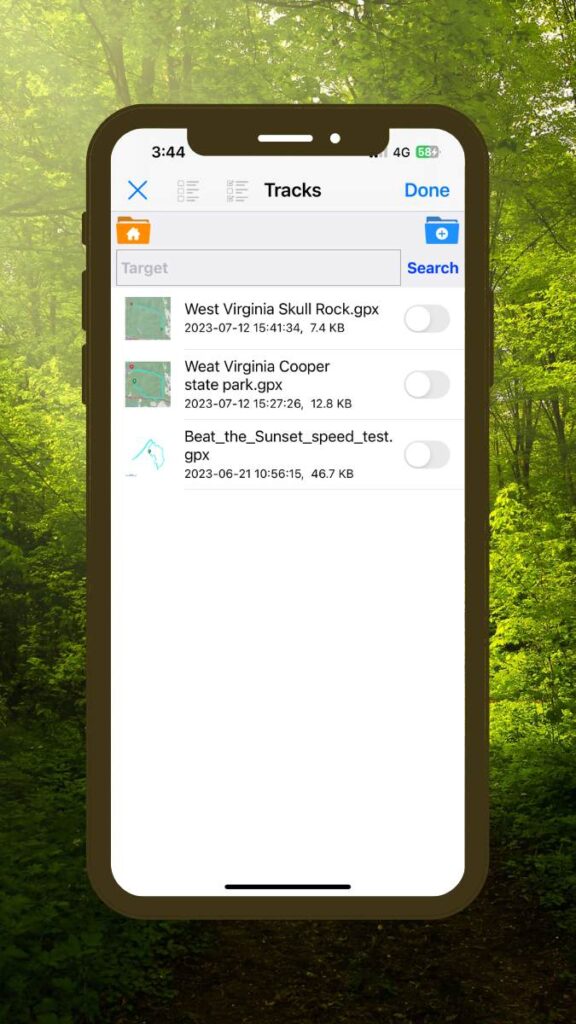
To view your saved tracks, simply tap on the tracks icon at the bottom of the screen.
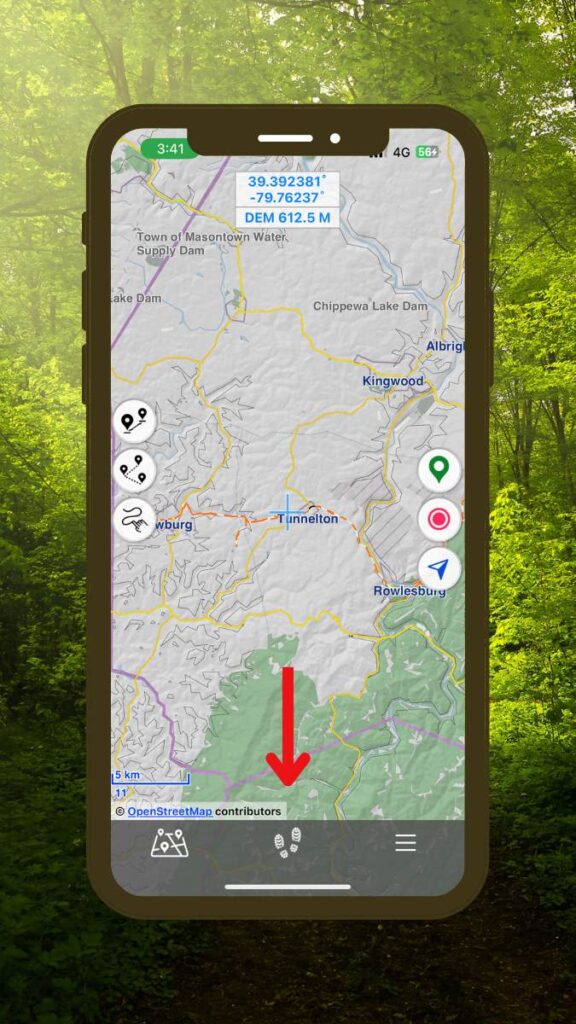
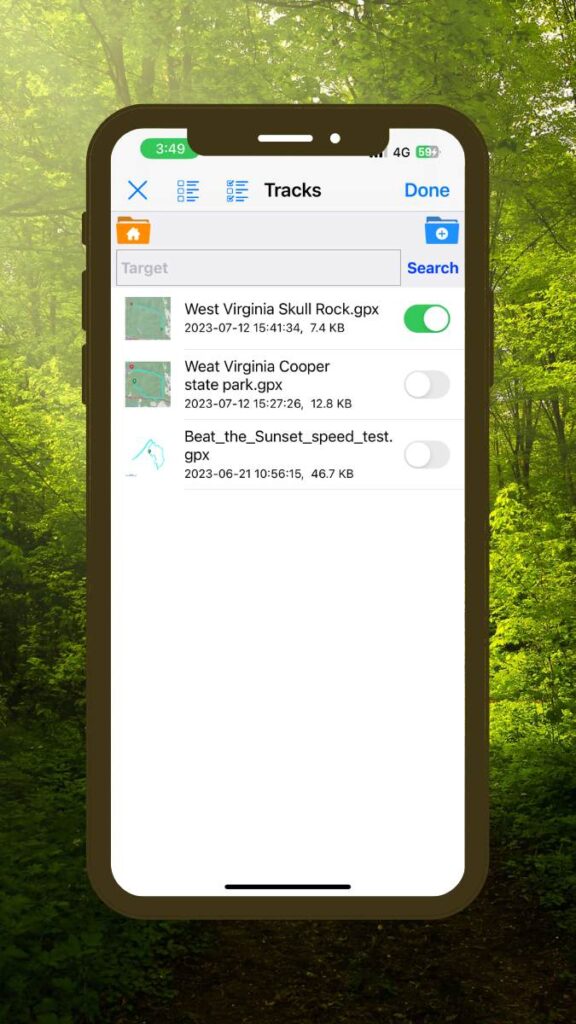
You can use the toggle button select which tracks should be visible on the map. Press Done to return to the map view.
